
Newborn photo shoots can be so pricey. There's the cost of the shoot itself and then the printing costs on top and as much as I liked the idea of having a shoot done when Lily was born we just couldn't afford it.
We didn't have our camera at the time and so all the pictures I have of Lily as a baby are grainy Iphone photographs that are of no printing quality whatsoever so this time around I was determined to get some decent newborn photos of Archer whether that meant paying someone to take them or doing it ourselves.
As it was we ended up doing them ourselves and honestly I'm glad we did, I don't regret the decision at all! I don't claim to be any sort of professional at photography that's for sure, but I was able to do the photos my way and in the style I wanted and there's a lot to be said for having control over your own photographs. Here are a few tips for setting up a DIY newborn shoot I've picked up on the way..
1) You really don't need expensive or specialised props. When I decided to do a photo shoot with Archer I first went on the internet to look for props. I've seen photography props such as little beds, wooden crates etc going on Etsy and other sites for £100 or more but I ended up using Lily's doll bed I bought her on birthday from Ikea (£15 I think) and it did the job just fine. Same with the throw. Rather than buy a throw marketed specifically for photoshoots I just used a throw off our sofa for the background, again I think from IKEA. I also bought a background from Amazon for £10 but this is optional as a throw or blanket works just fine too.
2) Have a plain background. This one is pretty much common sense I know but a plain background simply means that the main focus will be on the subject. If there's too much going on in the picture it will serve as a distraction from the baby itself. I learnt that lesson by trying to photograph Archer on one of my patterned duvets, it just didn't work!
3) Use as much natural lighting as possible. Photographs taken in dark rooms with dull lighting are likely to come out grainy and even the best photo editing software can't solve that issue. Professional photographers will have a million and one different fancy lighting equipment and whilst there's no denying that this is most likely to get the best results it's not necessarily something you NEED at all. Natural lighting gets great results and best of all - it's free! Find the lightest space in your house, for us it's in front of the french doors in the living room which is where I took the photos below and snap away.
4) Keep the room warm. Again another common sense one but when photographing a baby I can't stress how important the temperature of the room is. Especially if your doing photos where they have little or no clothes on. Newborns get cold fast and so it's important to make sure this doesn't happen during your shoot. Luckily for me we have a portable heater in our front room so I could have the hot air pointing directly at the area I was using to shoot Archer in. It might be worth investing in if you have drafty rooms as you can get some pretty cheap ones from Argos. If not then have the central heating on, keep an eye on the baby's temperature and make the shoot short. If you have lots of photographs to take or looks you want to capture then maybe separate them in to multiple shorter shoots rather than one long one.
5) Find a good editing program. I can't lie I'm OBSESSED with editing, I can happily sit and do it for hours and for me editing programs can really make my photos come alive. I quite often look back at the photos I've taken on my camera and not particularly like any of them but once I've had a play around with different edits I end up loving them! Lightroom is my favourite if you fancy forking out but websites like PicMonkey are brilliant, simple to use and don't cost a thing (unless you want to pay for the extras of course). You don't have to be really computer savvy to use them either, it takes two seconds to whack a filter on and voila your picture is transformed!
So those are my main tips for doing a DIY photo shoot. Like I said, I'm no expert and I'm certainely not a professional but I do enjoy taking photos and I wish I'd realised I could do a DIY shoot when Lily was born rather than presuming it would be mega expensive.
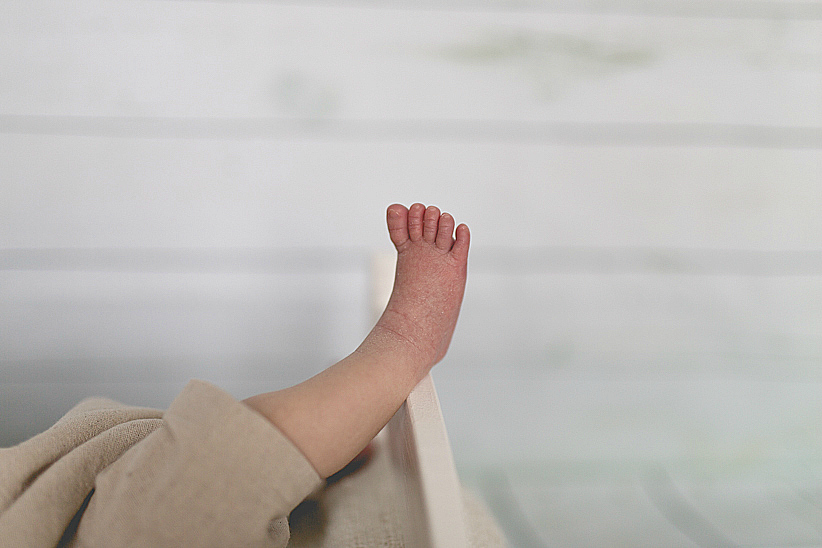
Here are a few photos I took of Archer when he was just two weeks old. It's so strange looking back on them as he's changed so much since then, I honestly think, he looks like a completely different baby! But I'm so glad I have them as keepsakes :)


Follow us on
Instagram | Bloglovin' | Twitter | YouTube
Amazing photos! Do you want to be friends with me on bloglovin? If yes, just follow me and I'll follow your blog back ASAP!<3 http://www.bloglovin.com/blogs/anna-alina-3947784
ReplyDeleteThese photos are amazing - they look so professional! I wish I'd got photos like this of my son when he was first born
ReplyDeletex
Ooh so gorgeous! I love their squishy, pink skin when they're newborn.. so beautiful xx
ReplyDelete